A Case for Hemp
There are many rope materials you can use for Shibari including hemp, jute, nylon, cotton, climbing rope, posh, and others. That said when it comes to Shibari rope, natural fibers, particularly hemp, stand out as the superior choice and is the preferred material amongst Shibari professionals worldwide.
Hemp offers a unique combination of qualities that make it unrivaled in the world of Shibari. Its strength and durability allow it to withstand the tension and demands of intricate ties without compromising safety. The natural texture and softness of hemp provide a comfortable experience for both the person tying and the person being tied, enhancing the overall sensation and enjoyment. Furthermore, hemp ropes have a certain “grip” that makes knotting and securing ties easier, providing confidence and control during Shibari sessions. Additionally, hemp is a sustainable and eco-friendly material, aligning with the values of many Shibari practitioners who prioritize ethical considerations. With its exceptional strength, comfort, grip, and sustainable nature, hemp remains the preferred choice for those seeking the best material for Shibari ropes.
A pre-conditioned hemp rope kit for Shibari can be very pricey but it doesn’t have to be! You can do it yourself and I will teach you how.
Treating Raw Hemp Rope
You can’t simply buy untreated rope from any store and start tying with it. It is important that the rope be high quality and be treated correctly to make it softer and more flexible. Conditioning your own rope is an incredibly simple process that anybody can do from the comfort of their own home.
You will need:
1. Buying Raw Hemp Rope
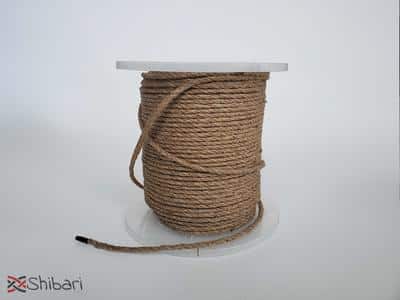
Begin by carefully choosing premium hemp rope that aligns with your desired thickness and length preferences. Opting for high-quality materials sets the foundation for a satisfying Shibari experience.
A basic Shibari rope kit usually includes two long ropes around 25-30 ft and two short ropes around 10-15 ft. We recommend buying 100 ft of rope for your first kit.
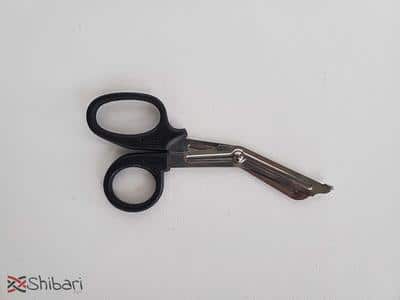
Use shears to cut the rope to the desired length.
Rope thickness varies between 4 – 8mm diameter. The thicker the rope, the more comfortable the ties will be. That said, thick rope is more difficult to handle and will make your ties more bulky and less aesthetically pleasing. Most people choose 6mm diameter as it provides the perfect compromise between the comfort of the 8mm diameter and the malleability of the 4mm diameter, making sure your ties are not bulky and not too uncomfortable.
It’s worth noting that 100% natural raw hemp rope has a very distinct smell. This is actually a good thing because it’s a sign that what you bought is real hemp rope. Once you condition the ropes, the smell will lessen considerably and will soon fade with use. Our recommendation is to trust the process and be patient. That said, if you want to speed this up, you can place your treated ropes in the drier on high heat with a couple of drier sheets for 10 minutes. The fabric softener will permeate and aromatize the rope, reducing the smell.
2. Setting Up Your Working Area
The first part of the process involves breaking in the rope fibers to make the rope more flexible and easier to work with. This will cause A LOT of frizzy fibers to come off the rope. It is best if you do this outside or in a well-ventilated area using a scarf or face mask to protect your nose and mouth and some glasses to protect your eyes. It is also recommended to use gardening gloves to protect your hands when pulling the rope.
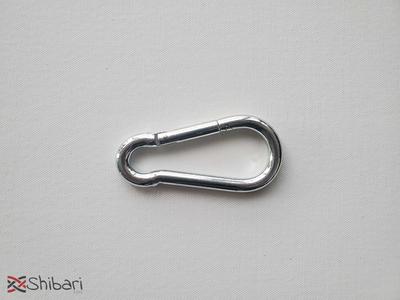
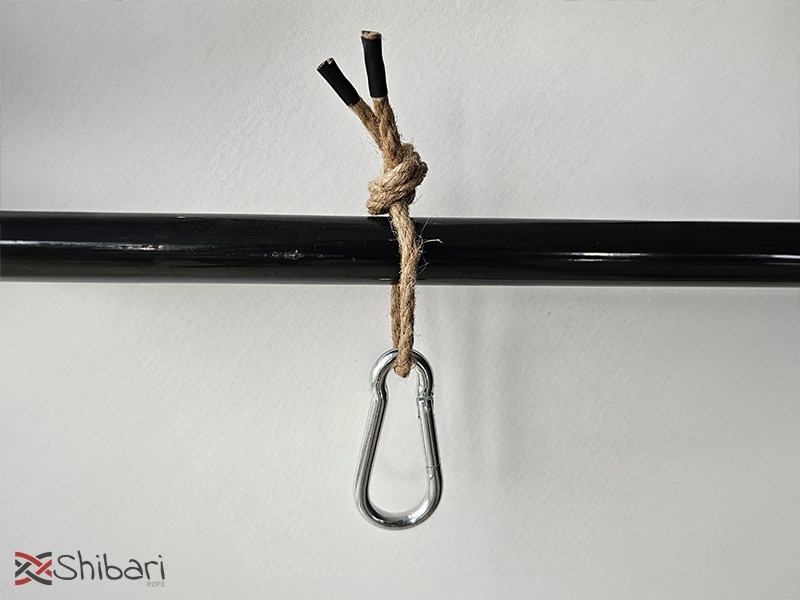
Begin by attaching the carabiner to a fixed mounting point such as a post. If the post is too thick for the carabiner to be attached directly to it, use a small length of rope to securely tie the carabiner to a post or any other solid mounting point.
3. Breaking-in the Rope
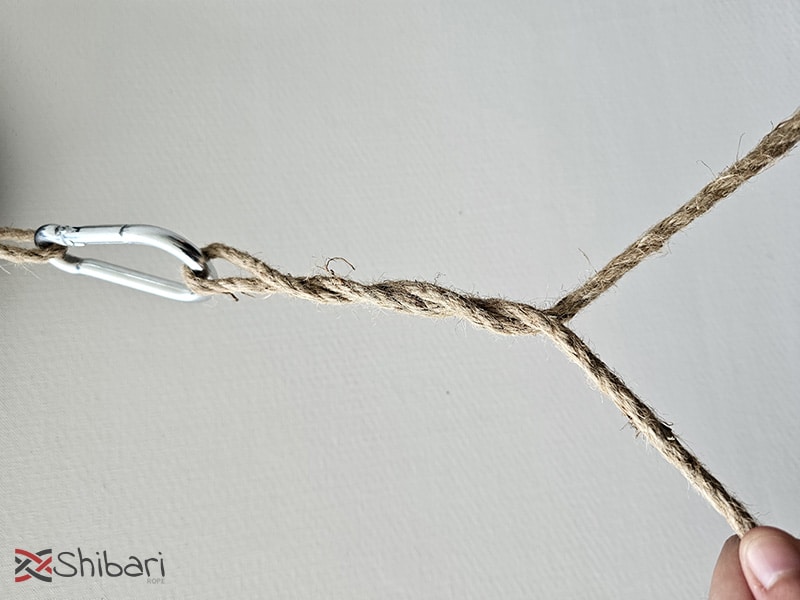
Begin by inserting one end of the rope through the carabiner, making sure you have about a foot of rope on one side. Next wrap that foot of rope around the length of rope on the other side of the carabiner approximately three or four times.
The objective of this step is for the rope to create friction with itself to break in the fibers. To do that, grab the short end of the rope with one hand, apply tension to the other end of the rope with your other hand, and pull the short end of the rope until you have pulled almost the entire length of the rope through the carabiner. Repeat this step in the other direction.
It’s important to understand that this process is designed to break in your hemp rope fibers. The more you do it, the softer and more flexible the rope will feel. That said, if you do it too much, you will weaken the rope.
At this point, the rope will be much more flexible but rough to the touch and completely covered in frizzy fibers..
4. Singeing
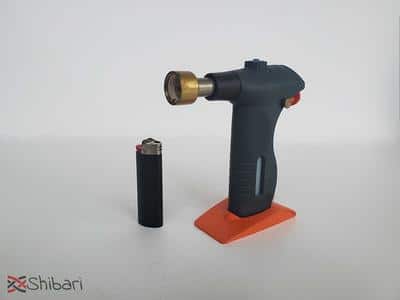
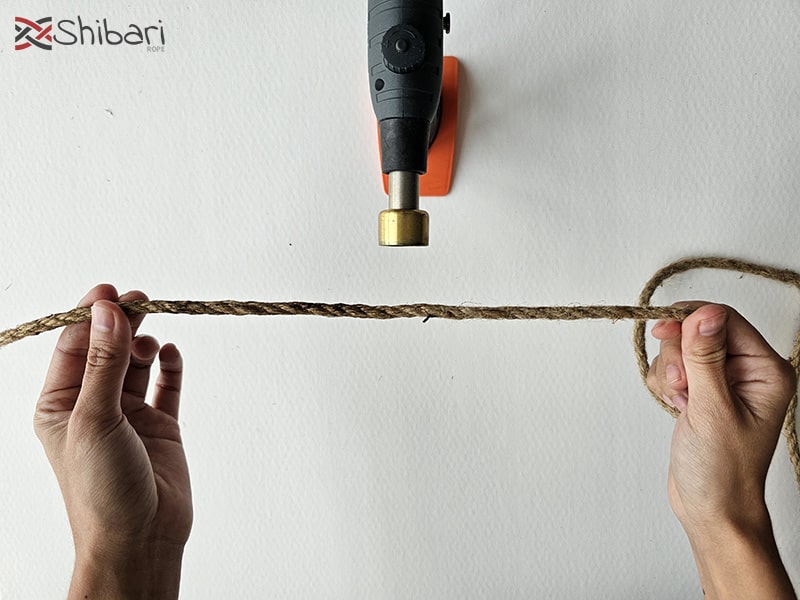
After breaking in the rope, there will be lots of frizzy fibers sticking out. To remove these frizzy fibers, carefully singe it using a lighter or a blowtorch. We recommend using a blowtorch with a blue flame to decrease the amount of soot left on the rope, that said, any lighter will work just fine.
When singeing, ensure a continuous and smooth motion, running the rope through the flame (or the flame through the rope) without stopping, to prevent any damage to the rope.
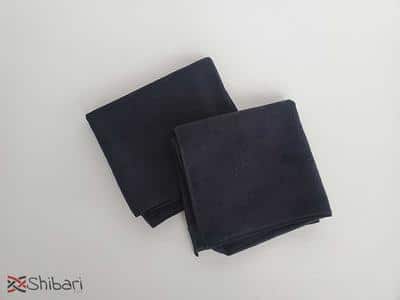
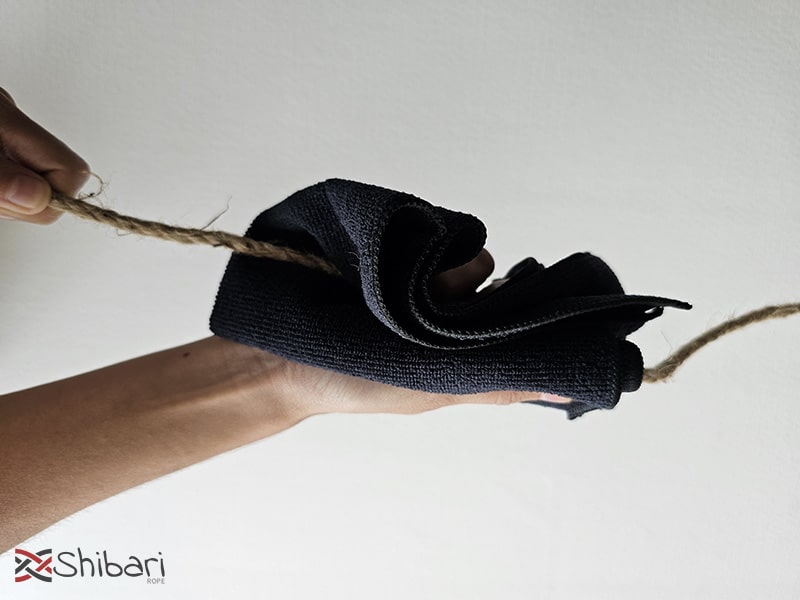
To eliminate any soot residue from the rope, simply glide a damp cloth
along its length. Make sure you wrap the cloth tightly around the rope.
This wiping action effectively removes the soot particles, leaving the
rope clean and free from most unwanted marks.
At this point the rope will be very soft and flexible. The next step will make it even softer and nicer to touch.
5. Oiling
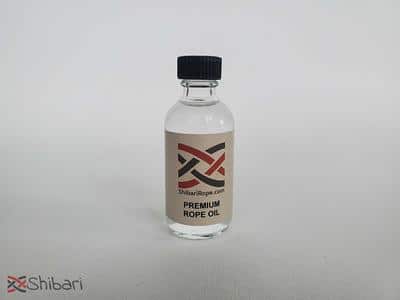
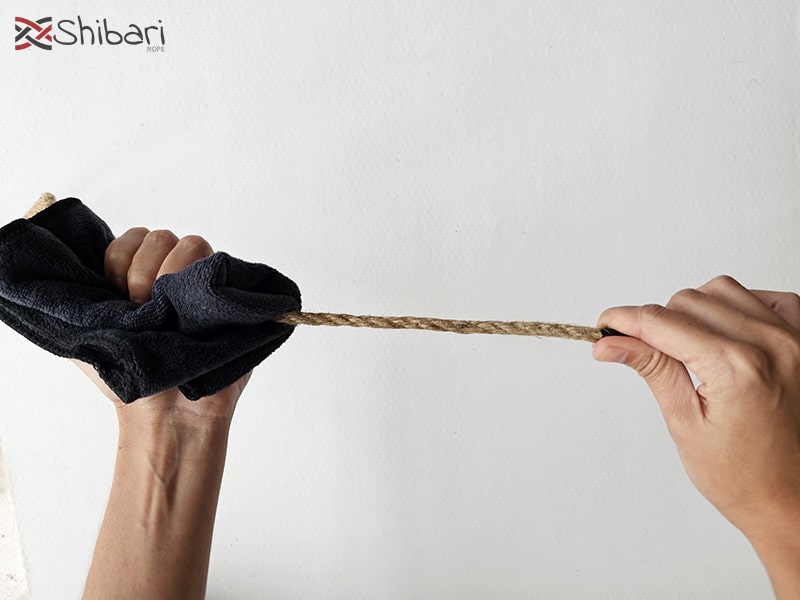
The final step of the process is to provide the rope with a lubricating layer to make it softer to the touch. You can use jojoba oil, a mix of camellia oil combined in with beeswax in a 50% – 50% proportion, or mineral oil. We strongly recommend the use of mineral oil, not only because it is less expensive than the alternatives, but also because it is hypoallergenic, scent free, and will last a very long time, making it the safest option for most people.
Apply oil to the rag until it is damp. Wrap the rag around the rope and pull the entire length of the rope through the rag.
6. Treating Your Rope Ends
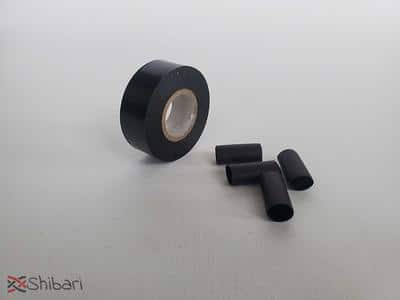
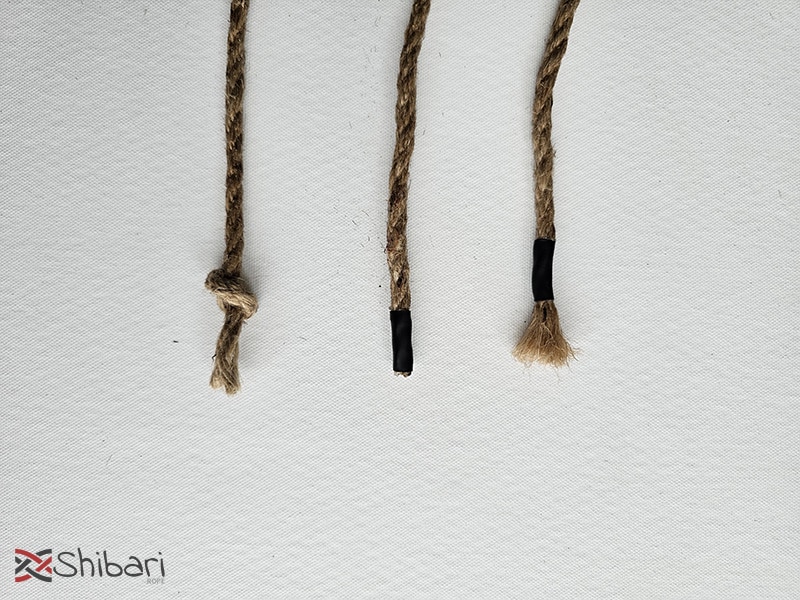
As a final step, it’s important to treat the ends of your rope to keep them from fraying. There are plenty of methods to do this, among the most popular are tying a simple overhand knot near the ends, wrapping the ends in electrical tape or using heat-shrink tubing. You can then use a comb to brush the ends of the rope to make them softer to the touch.
That’s it!!! Your rope is now ready to use.
Shibari Rope Kit
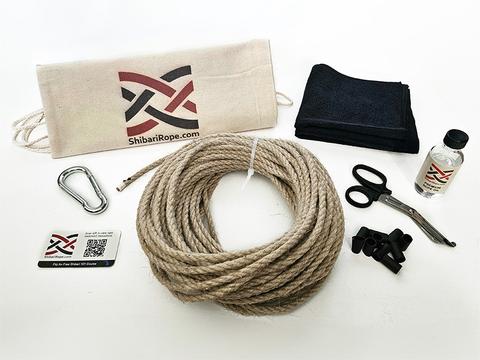
We did the work of finding the best affordable high-quality materials that will ensure soft, flexible, and durable Shibari ropes. We put together a kit that includes everything you need to do it yourself.
- 100ft High-quality 6mm Hemp Rope
- Steel Carabiner
- Premium Mineral Rope Oil
- Ten Heat-shrink Rope Endings
- Two Microfiber Rags
- Safety Shears
- Official ShibariRope.com Travel Bag
Cleaning Your Hemp Ropes
Your ropes will eventually get dirty with use. The washing and drying process varies depending on the material of your rope. It’s important to follow these directions carefully to make sure your ropes remain in optimal condition.
Washing
You have two options when washing hemp rope. You could either use a washing machine or a bucket.
Using a washing machine
1. Place your ropes inside a pillow case or a laundry bag.
2. Put the ropes in your washing maching on a delicate cycle with cold water. Use a clear detergent.
3. Use an extra spin cycle to remove excess water from the ropes.
Using a bucket
1. Fill a large bucket with cold water and add clear detergent to it.
2. Place the loose ropes inside the bucket and stir.
3. Let the ropes sit in the bucket around 20 – 30 minutes.
4. Rinse the ropes with cold water until all the detergent is removed.
Drying
1. Hang the rope until it stops dripping
2. Using twine, attach the rope to a solid mount such as a post (if you tie the wet rope around the mount directly instead of using twine, it will dry with the twist and you won’t be able to get rid of it).
3. Apply tension to the rope by pulling it for about 20 seconds
4. Release the tension and let hang until it is about 80% dry. This may take a couple of days.
5. Repeat steps 3 and 4
6. Let dry completely before storing. This may take up to four days.
Oiling
1. Pour mineral oil unto a rag until it is slightly damp (You can also use jojoba oil or a mix of camellia oil and beeswax).
2. Wrap the rag around the rope and pull the entire length of the rope through the rag.
Storing and Coiling Rope
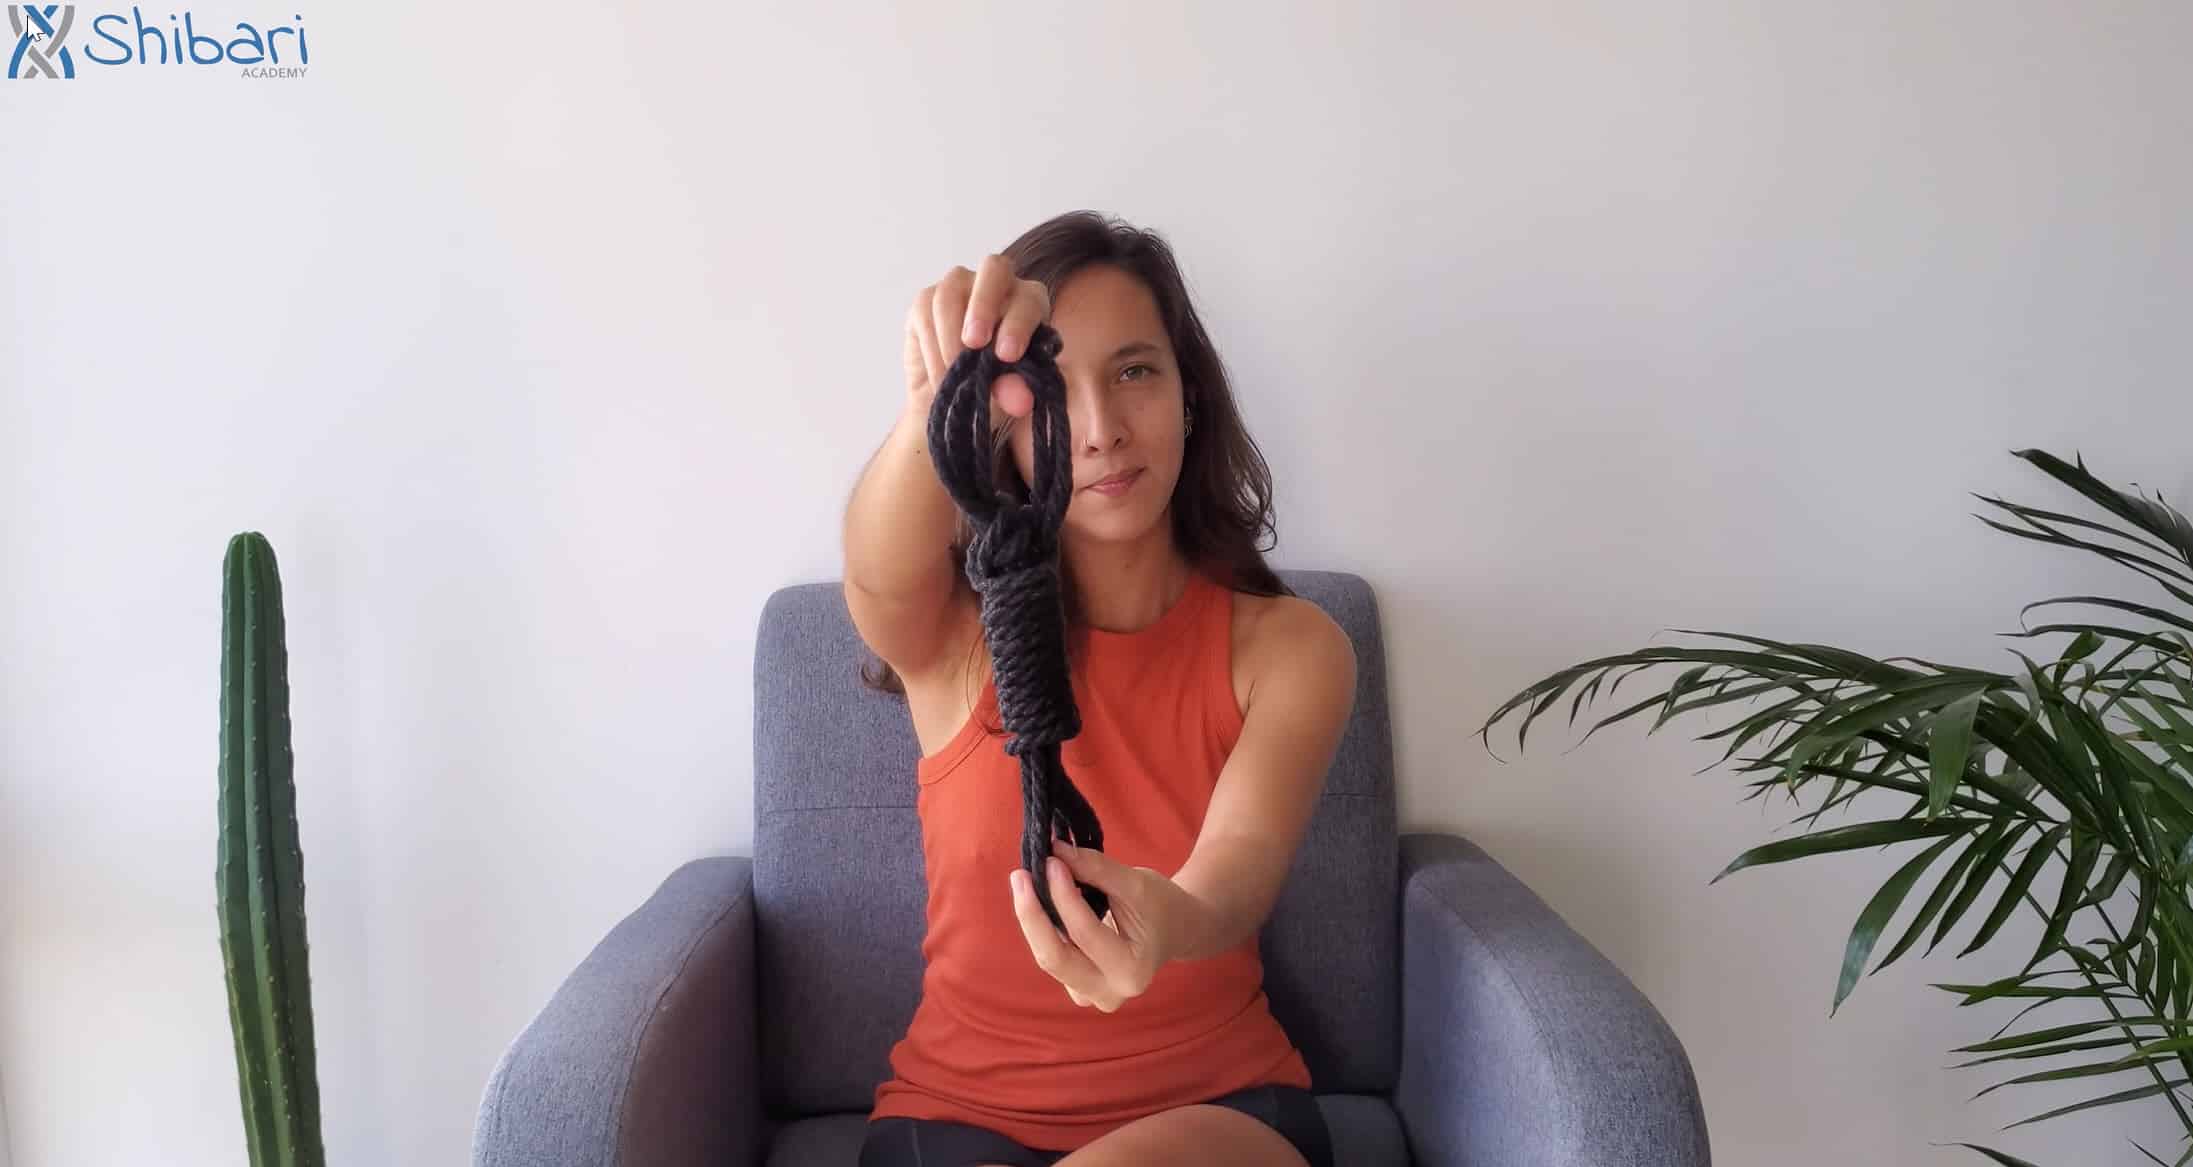
When storing rope, it is important to make sure that it will not tangle and that it is quick to untie so it is ready for use. We recommend the following method.
1. Grab both ends of the rope with one hand
2. Using your other hand, coil the rope with the help of your elbow
3. When you have about 1.5 ft of rope left, release the coil and use the 1.5 ft of rope to wrap it around the coils.
4. Continue wrapping the rope around the coils until you have about 5 inches left of rope. Go through the coils.
5. Using your thumb and forefinger, grab the coils and pull them through the loop that you just created.
This method will keep the ropes from tangling and it can be untied in seconds by simply removing the coils from the loop. For a more detailed video explanation, watch Shibari Academy’s free “Coiling and Storing Rope” video in their Free Shibari 101 course.
